1. Export an Avid DS (Subcap) subtitle file from Avid Media Composer
Move the position indicator to any instance of the SubCap effect in the sequence, and ensure that the track containing the effect is selected. Open the Effect Editor, for example, by clicking the Effect Mode button. In the Caption Files parameter category, click Export Caption Data. Navigate to the location where you want to store the exported file. In the File name text box, enter the name for the caption file. From the Files of type menu (Windows) or the Enable menu (Macintosh), select the caption file format Avid DS (for the Avid Subcap file). In Tracks to Export, select the caption tracks from which you want to export data.
2. Use the "Ondertitel tool & converter" to convert the Avid DS (Subcap) subtitle file into a Final Cut 7 XML marker file
Open the free Ondertitel tool & converter, select "Avid DS (Subcap)" and set "convert" to "Adobe Premiere Pro > Sequence (.xml)". Generate and download the file. Heb je problemen bij het converteren van het bestand, dan kun je contact opnemen met de gratis support.
3. Import the Final Cut 7 XML marker file into Adobe Premiere Pro
To import timeline markers, go to "File -> Import" and select the XML file.
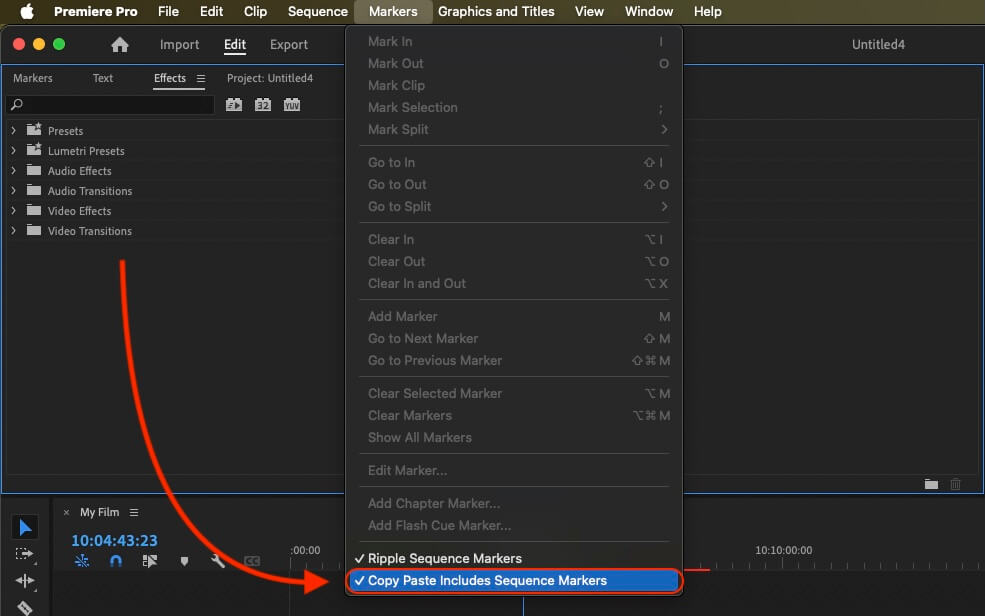
If you want to copy these markers into the existing sequence, use the adjustment layer or any other video as placeholder. Then copy the clip and switch to your existing sequence. Move the cursor to the location, where the adjusmtent layer or first marker appeared in the other sequence. Then past it. It will only copy the timeline markers if under setting (in the Markers menu) the option "Copy Paste Includes Sequence Markers" is active.
🚀 Klaar
Dat was het voor nu! Vond je deze tutorial nuttig, deel hem dan om ons te steunen. Heb je suggesties om de workflow te verbeteren, laat het ons weten!